Embossed self adhesive window film C1039

Material: PVC

Size: 45cm*customized meters

Tensile strength: 0.1-0.2 KN/M

Application: Decorative & functional for home & office

Contact us for Catalogue, OEM & ODM services or further details.

CONTACT US

Embossed self adhesive window film C1039

SELFADHESIVE FOIL STANDARD

TECHNICAL SPECS

Thickness

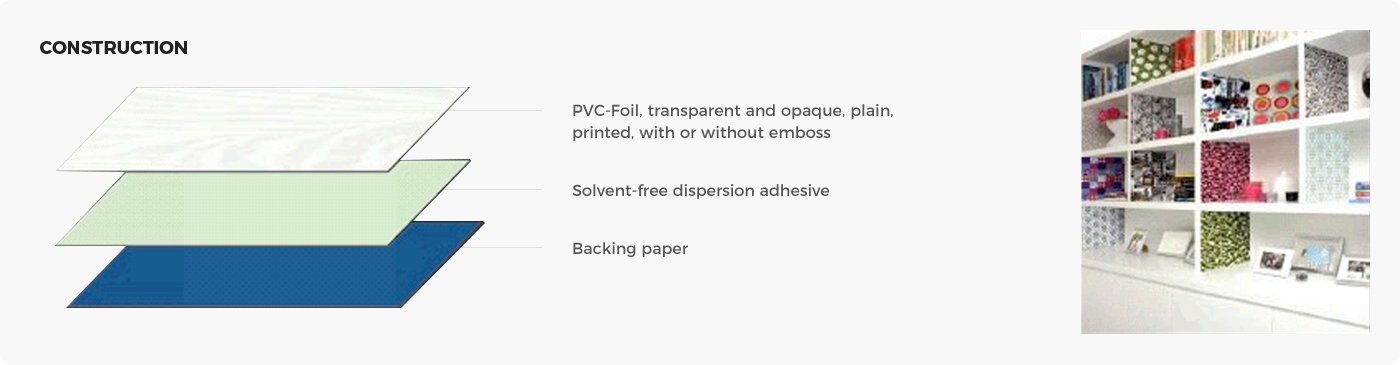
Foil with paper: 170-200 Micron +10%

Backing paper: 67+3 Micron

Weight

Foil with paper: 204-230 g/m²

Foil: 110-150 g/m²

Adhesive (solvent-free) : 20+2 g/m² Backing paper: 62-70 g/m²

Opacity

>95%

Light fastness

min6 (Wollblauskala)

Tensile strength

vertical/horizontal>15N /mm²

DIN 53455

Hardness

61+3 Shore D (Foil with 90 Micron)

58+3 Shore D (Foil with100 Micron)

Shrinkage on window

vertical 0% - +1%

horizontal-0,5% -0,5%

Elongation

vertical>80%

horizontal>150%

DIN 53455

Application Temperature

+5C-+35C

Temperature Resistance

-10 C-+60C

The above mentioned concern un-embossed designs

*Thickness depends on design
(Plain and wood = 100 Micron,other designs 90 Micron)

PRODUCT RENDERING

HOW TO INSTALL SELF ADHESIVE
WALLPAPER

Since 1988, we have been a leading manufacturer in China dedicated to the R&D and production of PVC self-adhesive products. With 38 years of focus on foreign trade, we have grown from a small workshop into an industry benchmark, owning 3 production factories and 1 adhesive manufacturing plant, with monthly exports exceeding 60*20GP containers.

HOW TO INSTALL SELF ADHESIVE
WALLPAPER

STEP 1
Clean the surface thoroughly and ensure it's completely dust-free
01
STEP 2
Measure and cut the wallpaper, leaving an extra 10-15mm for trimming.
STEP 2
STEP 3
Peel off about 5cm of the backing paper.
STEP 3
STEP 4
Apply the film to the surface, then smooth outwards from the center to remove air bubbles using a squeegee or a card.
STEP 4
STEP 5
If there are bubbles on the surface after pasting, pierce them gently with a needle or blade.
STEP 5
STEP 6
Trim edges neatly with sharp utility knife or precision blade.
06

VIDEO

Contact Us

TOP

x
Our use of cookies
We would like to use necessary cookies to improve your browsing experience and the quality of our website. We would also like to set analytics cookies and advertisement cookies that help us make improvements by measuring how you use our website. Detailed information about the use of cookies on this website and how you can control your consent can be found in our Cookie Policy and Privacy Policy.
Accept only strictly necessary cookies Accept all cookies